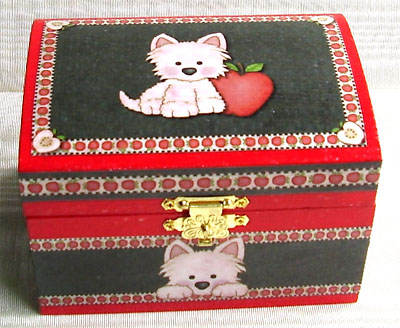
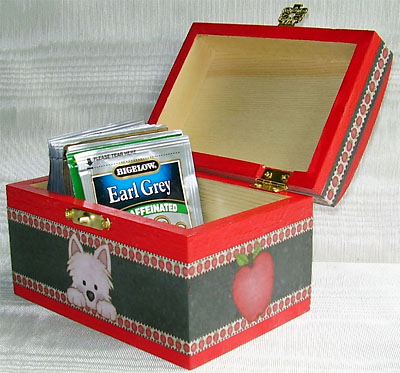
|
MATERIALS NEEDED:
* 3.5 x 5 x 3.5 Hinged wooden box.
* Paint or stain.
* Paint brush.
* Screwdriver.
* Sandpaper.
* Modge Podge.
* Clear acrylic spray.
* Inkjet paper.
* Teacaddy Front & back,
Lid Trim front & back,
Lid Trim sides,
Sides and
Top templates.
Graphics are from CC7: School
and CC22: Puppies.
INSTRUCTIONS:
Remove the lid from the box and the front hinge. Lightly sand the top and bottom of the box. Paint or stain the box. If you are
going to use this for food storage be sure to use food safe paint or leave it unpainted. Let dry throughly.
Open a landscape sheet into your print program. Import the tea caddy templates. Import your chosen graphics. Be sure to print
out two of everything to cover the front, backs and sides of the box. Of course, for the lid, you just need to print one.
Print on your highest setting. Lightly spray the printed sheets with clear acrylic spray to seal the ink. Let dry 15 minutes. Cut the
paper elements out.
Starting on the bottom of the box, apply a thin coat of Mod Podge to the back of your side paper elements. Apply the side paper elements
first. Smooth all air bubbles out. There will be a 1/4" edge to fold over to the front and back sides of the box. This will give you a
nice finished edge on all corners. Now apply Mod Podge to the front and back paper elements and apply to the box bottom. Repeat
the procedure for the lid trim. Finally apply the top paper element to the lid. Let dry for 20 minutes.
To give it a smooth look, lightly spray dried top and bottom with a coat of clear acrylic spray. Two light coats should give you a nice
finish. I wanted a different finish so I applied several coats of Mod Podge with a stippling brush to give it a textured appearance.
I finished it off with a coat of clear acrylic spray after the Mod Podge was dry.
Reattach the hinges and now it's ready for use!
|


