|
MATERIALS NEEDED:
* Card Stock.
* Glue.
* String elastic.
* Optional: Gems, Ribbon, Gimp etc...
* Templates:
Cake Slice Box Click-n-Fill
Cake Slice Box
Cake Slice Box with flower Click-n-Fill
Cake Slice Box with flower
Cone Hat Click-n-Fill
Cone Hat
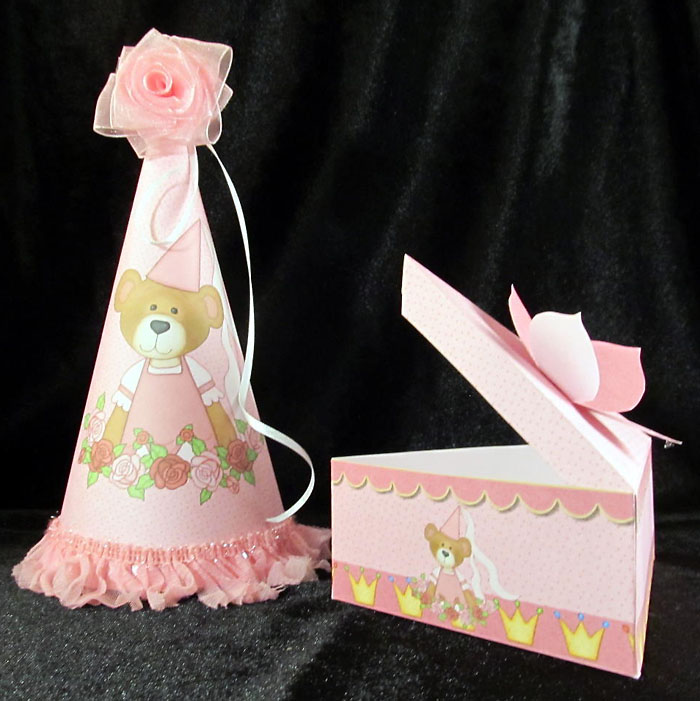
Graphics are from CC46: Princess clipart set.
INSTRUCTIONS:
For the Cake Slice Box:
Open a landscape sheet in your print program.
Import the cake slice box template with or without flower embellishment.
Import your chosen background and graphics.
Print on highest setting.
Turn cardstock over and run it back through printer, filling the inside with a matching background fill.
Cut out and fold on lines as indicated on template and glue tabs.
If using the flower embellishment, cut on dotted lines to form the petals.
Fold petals up and glue a gem into the center.
Glue flower to the top of the Cake Slice Box.
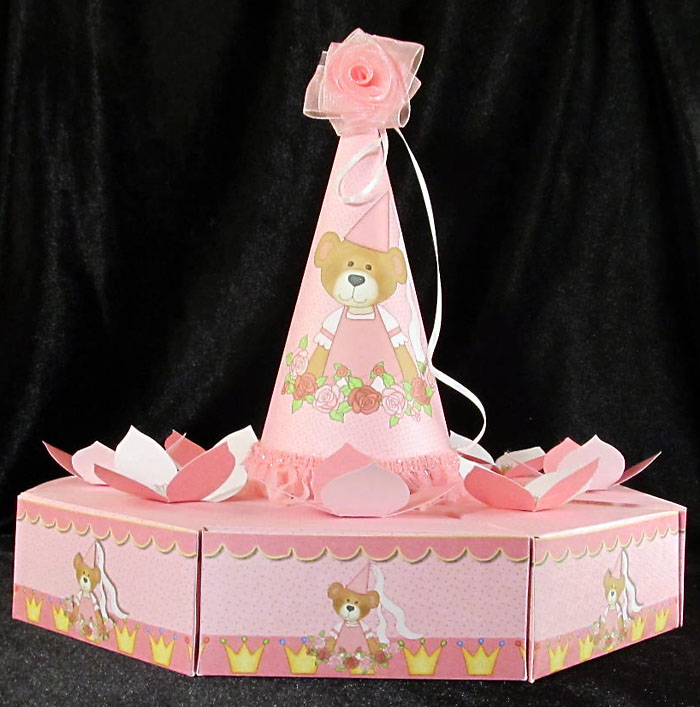
Repeat 7 more time to make a cake.
For the Party Hat:
Open a landscape sheet in your print program.
Import the Party Hat template.
Import your chosen background and graphics.
Print on your highest setting.
Cut out the Party Hat and glue where indicated on the template.
Punch holes on the side of the bottom of the hat and tie on the string elastic.
Add trim to the bottom and top of the hat.
Instead of filling these with cake slices, I am filling them with Princess Treasures for the girls to take home. Rings, bracelets and necklaces with some chocolate Kisses!
|


