|
MATERIALS NEEDED:
* 1 - 5.5" x 3" Wood Crate
* Paint brush
* Sandpaper
* Modge Podge
* Clear acrylic spray
* Inkjet paper
* Laminator and laminating sheets for the Recipe Dividers
* Recipe Card Holder Crate Label Template and Divider Templates
* Optional: Paint or Stain
* Templates:
Card Holder Divider 1 Click-n-Fill
Card Holder Divider 1
Card Holder Divider 2 Click-n-Fill
Card Holder Divider 2
Card Holder Divider 3 Click-n-Fill
Card Holder Divider 3
Card Holder Divider 3 Click-n-Fill
Card Holder Divider 3
Card Holder Crate Label Click-n-Fill
Card Holder Crate Label
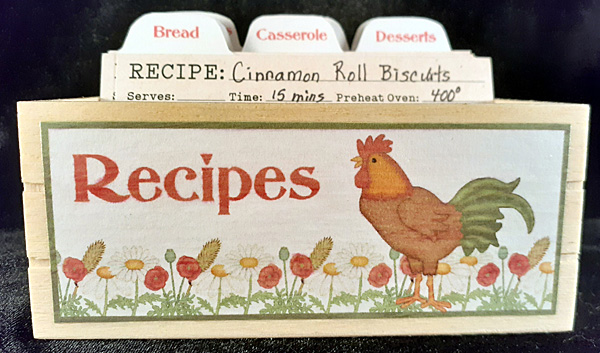
Graphics are from the CC42: Farm animals and CC65: Flowers and garden clipart sets.
INSTRUCTIONS:
For the Crate:
Lightly sand the wooden crate. Paint or stain the box if you wish. Let dry thoroughly.
Open a portrait sheet into your print program. Import the Recipe Card Holder Crate Label Template. Import your chosen graphics.
Print on your highest setting. Lightly spray the printed sheet with clear acrylic spray to seal the ink. Let dry for 15 minutes. Cut the Crate Label out.
Apply Modge Podge to the back of the Crate Label. Smooth all air bubbles out.
Apply a thin coat of Modge Podge over the entire crate.
Leave to dry overnight.
To give it a smooth look, lightly spray with a coat of clear acrylic spray.
Two light coats should give you a nice finish. I wanted a rustic finish, so I applied several coats of Mod Podge with a stippling brush to give it a textured appearance.
I finished it off with a coat of clear acrylic spray after the Mod Podge was dry.
For the Card Dividers:
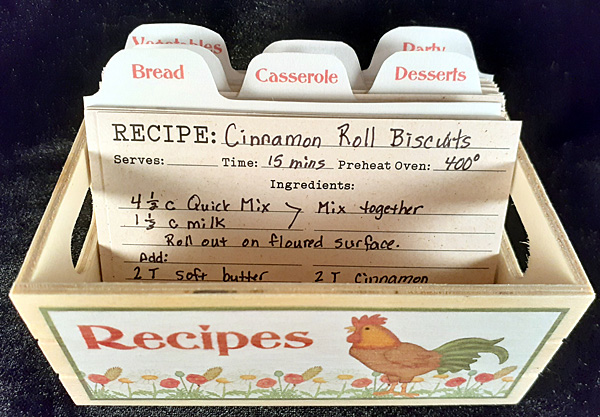
Open a portrait sheet into your print program. Import the Recipe Card Template. Add a text box to create a label for each card to fit your needs.
Print on your highest setting.
Laminate and cut out.
Now you have a sweet little recipe card holder!
| 


