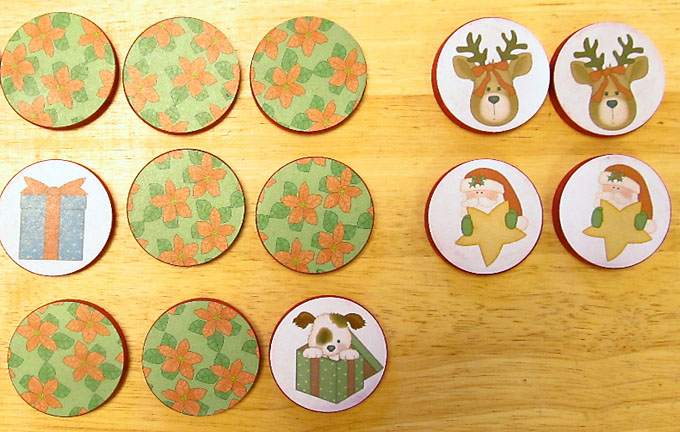
|
MATERIALS NEEDED:
* 2#34; x 1/4#34; round wooden disks ( I used 16 to make a matching set of 8 pairs).
* Paint or stain.
* Foam brush.
* Modge Podge.
* Clear acrylic spray.
* Inkjet paper.
* Optional: 2#34; circle cutter ( I used Fiskars 2#34; circle punch).
* Click-n-fill circle and
Circle templates.
Graphics are from CC25: Christmas cuties and
CC49: More Christmas.
INSTRUCTIONS:
Paint or stain the sides of the wooden disks. Let dry thoroughly.
Open a sheet into your print program. Import the circle template. Import your chosen graphics. Be sure to have
two of the same graphics printed for your match-ups.
Print on your highest setting. Lightly spray the printed sheets with clear acrylic spray to seal the ink. Let dry
15 minutes. Cut the circles out.
Repeat this procedure for the other sides of the wooden disks. I just filled a sheet with a background
pattern and then punched the circles out when the spray was dry.
Apply a thin coat of Modge Podge to the back of your paper circles. Apply the paper circles to your wooden
disks. Smooth all the air bubbles out. When they are dry, flip the wooden disks over and apply your other
paper circle. Let these dry well and then lightly spray each side of the disks with a coat of clear acrylic spray.
Now you are ready to play with your little one! These make great stocking stuffers!
| 


