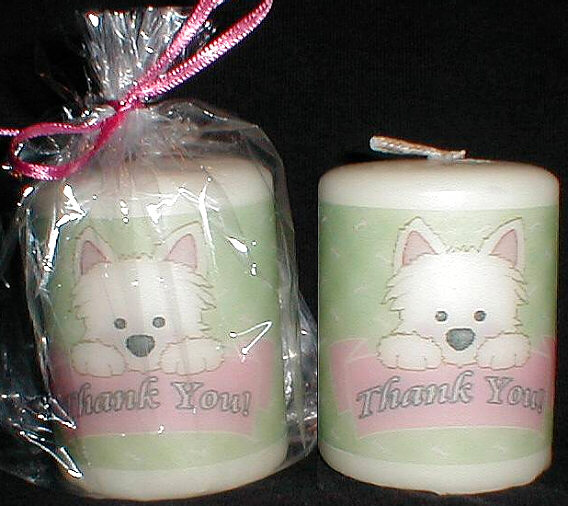
|
MATERIALS NEEDED:
* 1 white pillar style candle (light colored candles work best).
* White tissue paper.
* Inkjet paper.
* Tape.
* Wax paper.
* Hair dryer or heat gun.
* Oval or
round rectangle label template.
Graphics are from CC22: Puppies.
INSTRUCTIONS:
Determine the size of the label you want by measuring your candle. The projects shown have a
an oval shape and a rectangle shape decal, but any shape you choose will work fine.
Import a decal template and size as needed for your candle. Now, import your chosen graphics
into your print program and design your label.
Before printing, take one sheet of inkjet paper. Use this as a template to cut out a sheet
of tissue paper. Cut the tissue paper so it is a little bit smaller than your inkjet paper.
Now carefully tape the tissue paper to the inkjet paper all around the edges. Make sure none of
the tape hangs off of your inkjet paper so it doesn't catch and hang up in your printer. Insert
this tissue paper/inkjet paper combo into your printer and print on a high setting.
Cut out your label and position it where you want in on your candle. Cut a long piece of
wax paper to wrap around your decal and candle with enough left on the back for you to
hang onto.
Using your heat gun on low or your hair dryer on high, heat the candle until the decal
begins to get a wet appearance. When all of the decal looks wet and translucent, roll the
candle on a flat surface. Carefully remove the wax paper. Your decal is now imbedded
into the candle!
| 


