|
MATERIALS NEEDED:
* 1 eight inch round cardboard box.
* Mod Podge.
* Small sponge paintbrush.
* Clear Acrylic Spray.
* Optional: Small gimp braid, paper scrap embellishments, ribbon, etc..
* Circle lid template and
Lid sides/box sides template.
Cliparts are from CC2: Frogs and backgrounds from
CC20: Easter.
INSTRUCTIONS:
Import the lid sides/box sides template into your print program. Print out a test sheet and check for fit
on your box.Make adjustments if needed. Import your desired graphics and decorate. Print 3 sheets
for the sides on your highest printing setting.
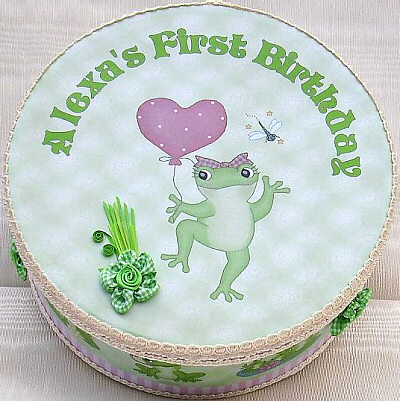
Import the circle template into your print program. Decorate with your chosen graphics. Print on
highest setting. To get your 8" circle you may have to adjust your printers output size to around
110 percent and piece the top together. Or, If you have a printer that will print borderless photos,
choose that option to get your 8" circle.
Lightly spray the printed sheets with clear acrylic spray to seal ink. Let dry another 20 minutes. When
dry, cut all pieces out.
For the top of the lid:
Apply a thin coat of Mod Podge to the back of your cut paper. Fit to lid, smoothing out as you apply
paper to box.
For the sides:
Apply a thin coat of Mod Podge to the back of the cut paper. Smooth all air bubbles out. Apply all the
sides, working your way around the box. Let dry for one hour.
Lightly spray dried top and bottom with a coat of clear acrylic spray. Two light coats should give you
a nice finish.
Let the box dry for two or more hours.
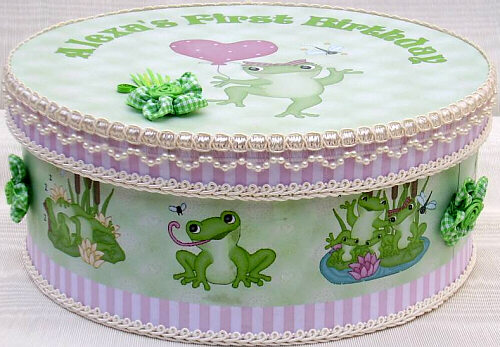
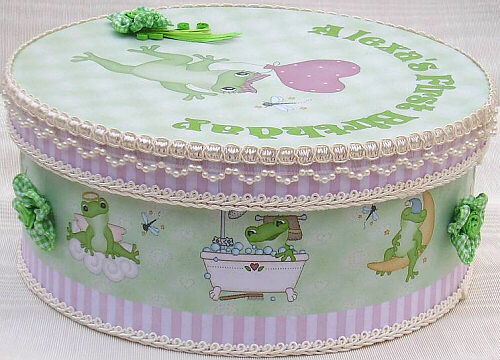
Now you are ready to apply your choice of embellishments! I recommend mini gimp around the box
lid and lid sides to cover your edges nicely. Have fun embellishing!
|


