|
MATERIALS NEEDED:
* Card stock.
* Hot Glue.
* Mini Velcro dots or tape.
* Optional for Tree Star piece: 1 inch pipe cleaner or toothpick.
* Templates:
Christmas Tree Click-n-fill
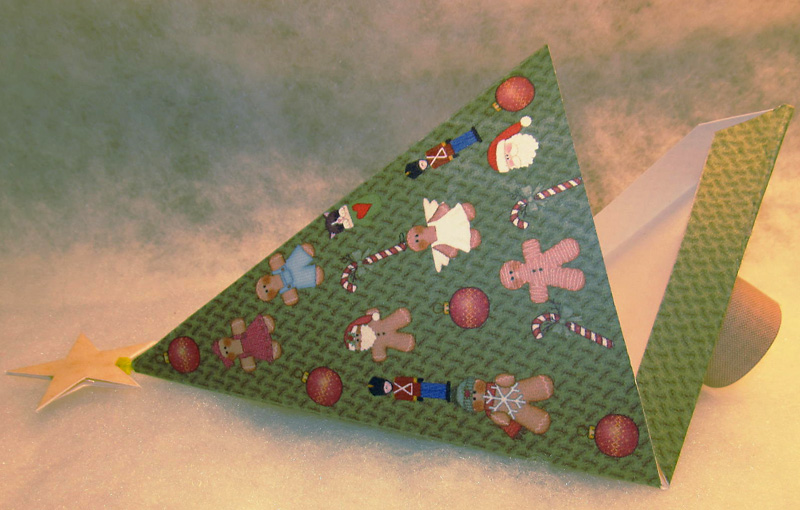
Christmas Tree
Graphics are from CC4: Christmas, CC36: Ginger folks and CC49: More Christmas sets.
INSTRUCTIONS:
Open a portrait sheet in your print program.
Import the Tree Box template.
Import your chosen background and graphics.
Print on highest setting.
Cut out the pieces.
For the Tree:
Fold on the lines and glue where indicated on the template.
If you are using mini velcro dots, apply them on the flaps of the tree's opening.
If you will be using the stars for the top, nip a very small piece off of the top of the tree to create a hole for the star's stick to slide into.
For the Trunk:
Cut down the dotted lines to the solid line.
Score and fold these cut strips down toward the back of the trunk piece.
Apply glue where indicated on the template.
Roll up the strip to form the trunk.
Apply hot glue to the top and attach to the bottom of the tree.
For The Star:
Apply glue to the back of the stars.
Sandwich the pipe cleaner or toothpick between the stars.
Place a tiny drop of hot glue on the pipe cleaner or toothpick.
Slide the star into the top of the tree.
Fill your tree with treats and then velcro or tape the bottom of the tree.
I am filling mine with little trinkets and chocolates to use as party favors for my classroom.
| 


